
Every year, people buy the latest iPhone expecting its improved camera to take their photography to another level. Professional photographers approach that upgrade a little differently.
They don’t simply open the Camera app and start shooting. They spend a few minutes understanding the camera, reviewing its settings and deciding how they want it to behave.
The difference is often in the preparation.
A professional photographer knows that the highest resolution isn’t always necessary, RAW isn’t always the best format, and automatic settings don’t always produce the intended result. They make deliberate choices before the first important photograph.
If you’ve just bought an iPhone 18 Pro Max, here are five things worth setting up before you start shooting seriously.
1. They Choose a Photo and Video Format Before Taking Their First Shot
One of the first decisions a photographer makes with a new camera is how images and videos will be stored.
On an iPhone, this means understanding the difference between HEIF and JPEG for photographs, and HEVC and H.264 for video.
These formats affect file size, compatibility and how easily you can use your photographs and videos across different devices and applications.
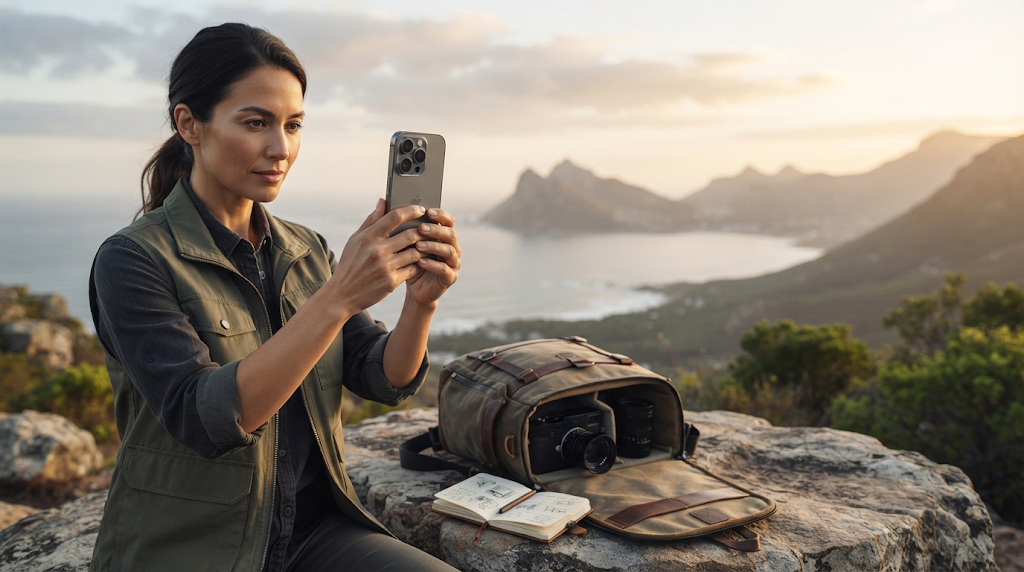
HEIF or JPEG: Which Should You Choose?
HEIF is Apple’s recommended high-efficiency image format. It allows the iPhone to store photographs using less space than traditional JPEG in many situations while maintaining excellent image quality.
For everyday photography, HEIF is a sensible choice. You can capture detailed photographs without filling your storage as quickly.
JPEG, on the other hand, offers broader compatibility with older software, devices and workflows. If you regularly transfer photographs to systems that don’t handle HEIF properly, JPEG may be more convenient.
The important point is that choosing HEIF doesn’t mean sacrificing the photographic quality you need for everyday use.
HEVC or H.264 for Video?
The same decision applies to video.
HEVC, also known as H.265, is a more efficient video compression format than H.264. It can deliver comparable visual quality at a smaller file size, depending on recording conditions and settings.
H.264 remains useful when compatibility with older editing software, devices or playback systems is a priority.
For most people recording on a modern iPhone and working with modern devices, HEVC is a practical default.
Where to Change These Settings
Go to:
Settings → Camera → Formats
Review the available options under Camera Capture and choose the format that suits your workflow.
If you regularly work with older software or share files with devices that have limited format support, test compatibility before committing to a particular workflow.
The professional approach: Choose HEIF and HEVC for efficient everyday capture, or select more compatible formats when your editing and sharing workflow requires them. Make the decision deliberately rather than discovering compatibility problems after you’ve taken hundreds of photographs.
Knowing which settings to change is only half the battle. It’s equally important to recognise iPhone camera habits that can affect your photos, even when your settings are correct.
2. They Set a Resolution Policy, Not Just a Resolution
It’s tempting to assume that the highest available resolution should always be selected.
After all, if your iPhone 18 Pro Max can capture 48MP photographs, why would you settle for anything less?
Because resolution is only one part of photographic quality.
A 48MP photograph contains more image pixels than a 12MP photograph, which can be useful when you want to crop, enlarge or retain more detail for a particular project.
But more pixels also mean larger files and potentially more demanding storage and editing requirements.
For everyday photographs, you may not need that additional resolution.
Consider how you use your camera. You might photograph friends, capture a meal, take pictures while travelling or document everyday activities. Many of these images will be viewed on phones, tablets and computer screens, where 12MP can provide more than enough detail.
A professional photographer doesn’t necessarily capture every image at maximum resolution. They decide what the photograph needs.
When Should You Use 48MP?
Higher-resolution capture is particularly useful when:
- You intend to crop a photograph significantly.
- You need additional detail for a larger print.
- You’re photographing a subject with intricate textures and details.
- You want greater flexibility when reframing an image later.
However, don’t confuse resolution with image quality. Lighting, focus, exposure, lens selection and subject movement can have a greater influence on the final photograph than the megapixel count alone.
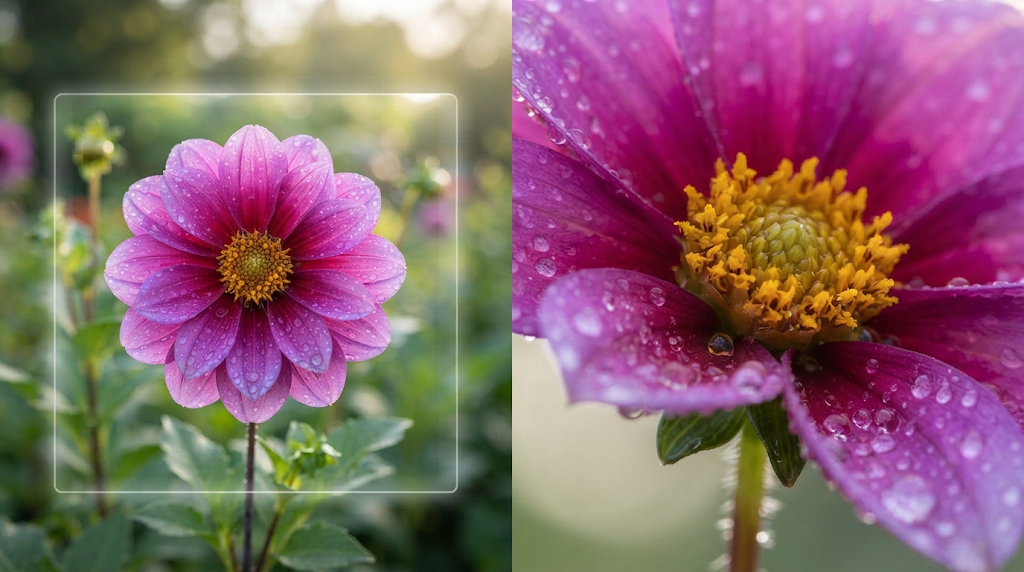
Where to Change Resolution
Go to:
Settings → Camera → Formats
Depending on the available capture options, review the resolution controls for your Main camera and the supported high-resolution formats.
The iPhone 18 Pro Max also supports Apple ProRAW, which combines RAW image data with Apple’s computational photography processing. This is a separate consideration from simply choosing 48MP.
That brings us to an important distinction.
The professional approach: Establish a default resolution for everyday photography, then deliberately select higher-resolution capture when the photograph justifies it. Don’t make maximum resolution your automatic choice for every situation.
Beyond these initial adjustments, there are other capabilities worth exploring. One is a hidden camera feature you should understand if you want to get more out of your iPhone.
3. They Turn On the Grid and Level Before They Start Shooting
Composition is one of the biggest differences between an ordinary photograph and a photograph that looks deliberately created.
You can have excellent lighting, an impressive camera and a beautiful subject, but if the framing is poorly considered, the photograph may still feel unbalanced.
Professional photographers don’t leave composition entirely to chance. They use visual references to help organise the scene.
One of the simplest tools available on your iPhone 18 Pro Max is the camera grid.
The grid divides the viewfinder into nine sections using two horizontal and two vertical lines. This makes it easier to apply the rule of thirds, position subjects and organise the elements within a photograph.
Understanding the Rule of Thirds
Imagine dividing your photograph into nine equal rectangles.
The four points where the grid lines intersect are useful positions for important subjects.
For example, when photographing a person, you might position their eyes near one of the upper intersection points rather than placing their face directly in the centre.
When photographing a landscape, you can use the horizontal grid lines to decide how much space to give the sky and foreground.
The rule of thirds isn’t compulsory. Centred compositions, symmetry and other framing techniques can be equally effective.
The grid simply gives you a reference for making more intentional decisions.
Why the Level Indicator Matters
The Level indicator is another useful composition tool.
It helps you keep your iPhone straight when photographing landscapes, buildings and other scenes where horizontal or vertical alignment matters.
A slightly tilted horizon can make an otherwise excellent photograph feel unbalanced.
Correcting it after capture may require cropping the image, potentially removing some of the original composition.
The Level indicator helps you catch that problem before pressing the shutter.
How to Enable Them
Go to:
Settings → Camera → Grid and Level
Turn both options on.
You can leave them enabled permanently. They don’t force you to compose every photograph in the same way, but they provide useful visual guidance whenever you need it.
The professional approach: Keep Grid and Level enabled. Treat composition as something you actively control rather than something you hope the camera gets right.
4. They Learn Where the Aperture Controls Are Before They Need Them
One of the most interesting features of the iPhone 18 Pro Max is its variable-aperture Main camera.
Aperture controls how much light enters a camera through its lens. It also influences depth of field, which determines how much of the scene appears acceptably sharp in front of and behind the point of focus.
This is an important creative control because different photographs require different approaches.
A portrait, a group photograph and a landscape don’t necessarily benefit from the same aperture.
The iPhone 18 Pro Max offers four physical aperture settings on its Main camera:
| Aperture | When to consider it |
|---|---|
| ƒ/1.48 | Low-light situations and greater background separation. |
| ƒ/1.8 | Portraits and general shooting where a relatively wide aperture is useful. |
| ƒ/2.8 | Group photographs and scenes requiring greater depth of field. |
| ƒ/4.0 | Landscapes and scenes where keeping more of the image in focus is important. |
These are practical starting points, not fixed rules. Your subject distance, focal length, lighting and composition all influence the final result.
Why Professionals Pay Attention to Aperture
Imagine photographing a person standing in front of a busy background.
A wider aperture can help separate the subject visually from the background, producing a more pronounced depth-of-field effect.
Now imagine photographing a family group with people standing in two or three rows.
You may want more depth of field so that people at different distances from the camera remain acceptably sharp.
The same camera can handle both situations, but your aperture choice should reflect what you’re photographing.
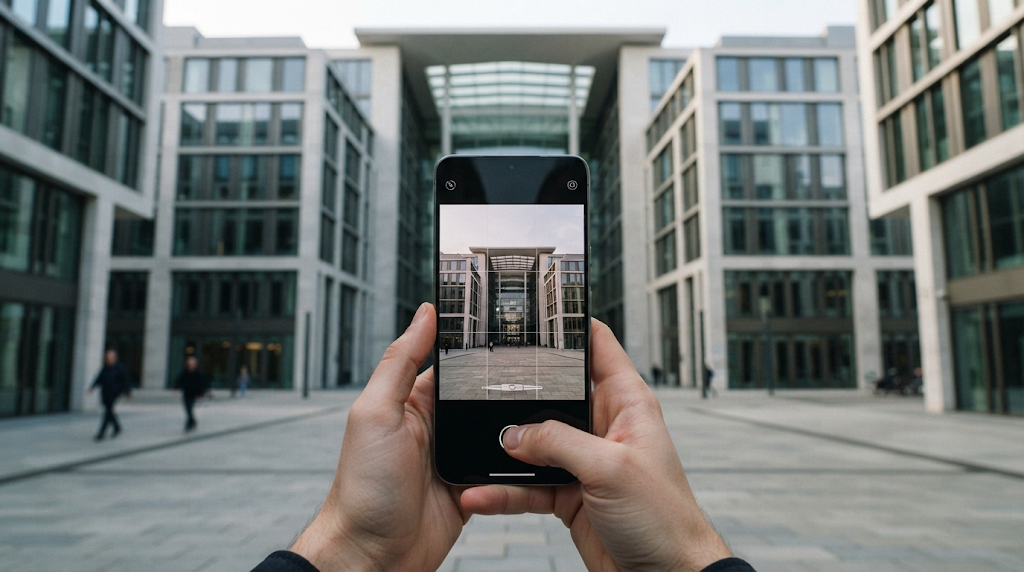
Understand the Difference Between Aperture and Portrait Blur
It’s also important not to confuse physical aperture with the simulated background blur used in Portrait mode.
Portrait mode uses computational photography to create a depth effect. Physical aperture influences how light enters the Main camera and affects optical depth of field.
They are related to the appearance of a photograph, but they aren’t the same mechanism.
Understanding this distinction helps you make better decisions rather than relying on a blur effect to solve every portrait problem.
The professional approach: Learn where the aperture controls are and understand what each setting does before an important shooting opportunity. The best time to experiment is when you aren’t under pressure to capture a moment.
5. They Test the Camera’s Memory Before the First Important Shoot
A professional photographer doesn’t like surprises from their equipment.
One of the first things worth checking on a new iPhone is how the Camera app behaves when you close it and open it again.
This is where Preserve Settings becomes important.
Preserve Settings determines whether selected camera choices are remembered between sessions.
For example, if you record a video and close the Camera app, your iPhone may reopen in Video mode if Camera Mode preservation is enabled.
Similarly, selected creative controls, exposure adjustments and Live Photo preferences can be retained.
This can be useful when you have a consistent shooting workflow. But it can become inconvenient when you expect your camera to return to its normal starting configuration.
Imagine opening your camera to photograph a spontaneous moment and discovering that it’s still in a mode you used the previous evening.
That’s not the time to start investigating your settings.
What to Check
Go to:
Settings → Camera → Preserve Settings
Review the available options, particularly:
- Camera Mode: Determines whether your last-used camera mode is remembered.
- Creative Controls: Determines whether supported creative choices are retained.
- Exposure Adjustment: Determines whether your previous exposure adjustment is remembered.
- Live Photo: Determines whether your previous Live Photo choice is retained.
You may also see other controls depending on your iPhone’s software version and supported camera features.
For everyday photography, you may prefer to disable preservation of settings you don’t want carried between sessions.
If you regularly use a specific camera mode or creative configuration, however, preserving it may save time.
The important thing is to test the behaviour.
Open the Camera app, make a deliberate change, close it, reopen it and observe what happens. This gives you a practical understanding of which settings are remembered and which return to their defaults.
The professional approach: Configure Preserve Settings deliberately and test your camera’s starting behaviour before an important shoot. You should know what your camera will do when you open it, not discover it when the moment arrives.
Of all the adjustments you can make, some deserve more attention than others. There’s one camera setting many iPhone users overlook, and it could be affecting the quality of their everyday photos.
Final Thoughts: The Professional Advantage Starts Before the First Photograph
Notice what’s missing from this list.
There are no expensive camera accessories, additional photography applications, external lenses or complicated editing workflows.
The five changes are about understanding the equipment you already own.
Professional photographers know that good results begin with deliberate decisions. They understand their formats, choose resolution according to the job, pay attention to composition, understand aperture and know how their camera behaves.
You can adopt the same approach with your iPhone 18 Pro Max.
Spend ten minutes reviewing these five areas. Experiment with the settings and establish a configuration that suits the way you photograph.
You don’t need to use every advanced feature every day. You just need to understand when it makes sense to use one.
The professional advantage isn’t having more equipment. It’s knowing why you’re using the equipment you already have.
And that’s a much better way to start getting the most out of your iPhone 18 Pro Max camera.
These adjustments give you a better starting point, but there’s much more to explore once you understand your camera. Learn more advanced iPhone photography techniques to get even better results.
Ready to go beyond the basic camera settings?
Knowing which settings to change is a good starting point. The real difference comes from understanding how to use them in different photographic situations.
Mastering the iPhone 18 Pro Max Camera: A Practical Guide to Better Photos, Stunning Videos, and Confident Camera Control helps you develop that understanding through practical, step-by-step instruction.
Explore camera settings, resolution, lenses, focus, exposure, composition, portraits, landscapes, night photography, video recording and advanced camera controls.
With practical exercises, troubleshooting guidance and quick-reference tips, the book helps you move from simply knowing which settings exist to understanding when and why to use them.
Explore the book: Mastering the iPhone 18 Pro Max Camera